
We're back! And with a Fall Pinterest Challenge project to share! Before we get into the good stuff, though, let me take a minute to explain the blog/life/over-share in general. I love writing, I love blogging, and I love crafting. This blog is a way for me to express myself, share what's going on in our lives, and give me an outlet for my creative side. It's fun to craft and make pretty things, but it's even more fun to brag share about my adventures in the DIY world. With that being said, I initially started this blog with high hopes of turning our run-ragged house into a Pin-worthy oasis in a few short months (HA!). And then life happened. And on top of that, I began reading some of the other amazing DIY blogs in the blogosphere (yeah, I just used the word "blogosphere"), and I began to get discouraged. While I was reading about BowerPower's amazing kitchen renovation, I began to doubt my own abilities. Most of what we'll do at our house won't even compare with some of these other DIY blogs. In short, I was intimidated. Who would want to read about my measly little bookshelves when the Petersiks just single-handedly reno-ed their entire kitchen?
And then I began to miss blogging. I would still craft and work on the house, but something was missing. I realized that I needed to let go of my own insecurities, and just do what makes me happy. So I've decided that I'm still going to blog, even if my mom is the only one that reads, and even if none of my projects come close to being as amazing as any of the other ladies involved in the Pinterest Challenge. I love doing this, and I would LOVE it if you would come along for the adventure.
But enough with the sharing, let's get down to the Pinterest Challenge: Fall Edition shall we? I've only blogged about one other Pinterest Challenge, which you can read about here, but it was so much fun that I couldn't wait to start my fall project. Our neighbors across the street are just a little bit older than us, and in a very similar situation regarding their house. They bought their house a few years ago and have been slowly working on renovating the entire thing. They are much farther along in the fix-er-up process (Amanda's dad is a contractor...JEALOUS!), and they just welcomed their first child last week! I am self-admitedly a little baby-crazy, so I immediately jumped on the Pinterest baby-train er...board, and started pinning like crazy. Here's my sneak-peak Instagram picture that I posted last week:

P.S.-You should follow me on Instagram @ KindieT and on Twitter @KindraTaylor. Creative, I know.
When I first began searching Pinterest, I didn't realize how girly baby-stuff is! The little boys of the world are really missing out, because the girls get all the cute stuff! I was determined to change that for baby Noah, and I wanted to make his gift a little personalized as well. I found this project on Pinterest and immediately knew what I was going to do. Do you ever have those moments when you immediately see a project start to finish in your mind? And then it turns out just as perfect as you imagined it? That was this project.

See Kate Sew has all kinds of cute tutorials, and she warns in the directions that this might be addicting, and it is! I want to applique everything now!
For this project you will need:
- Permanent Heat n' Bond (dark purple)
- Onesies (or t-shirt or whatever else you'd like to applique)
- Small scraps of fabric
We didn't know Noah's name at the time, so I decided to choose other things that were personalized for him. The onesies came in a pack of 3, so I just decided to do a mustache for the third one, which may not be personalized but is pretty darn cute.

I already had the gingham fabric from my Halloween decorations (which I'll share later in the week), so I just needed to buy the onesies and the other 2 fabrics, which set me back a total of $13 for everything. And I have enough fabric and Heat n' Bond left to make 50 more onesies.
First, find your pictures that you want to trace. I just googled "florida," "pug silhouette", and "mustache." Pretty clever, hunh?
Make sure your pictures are a good size for your project, and print them out.
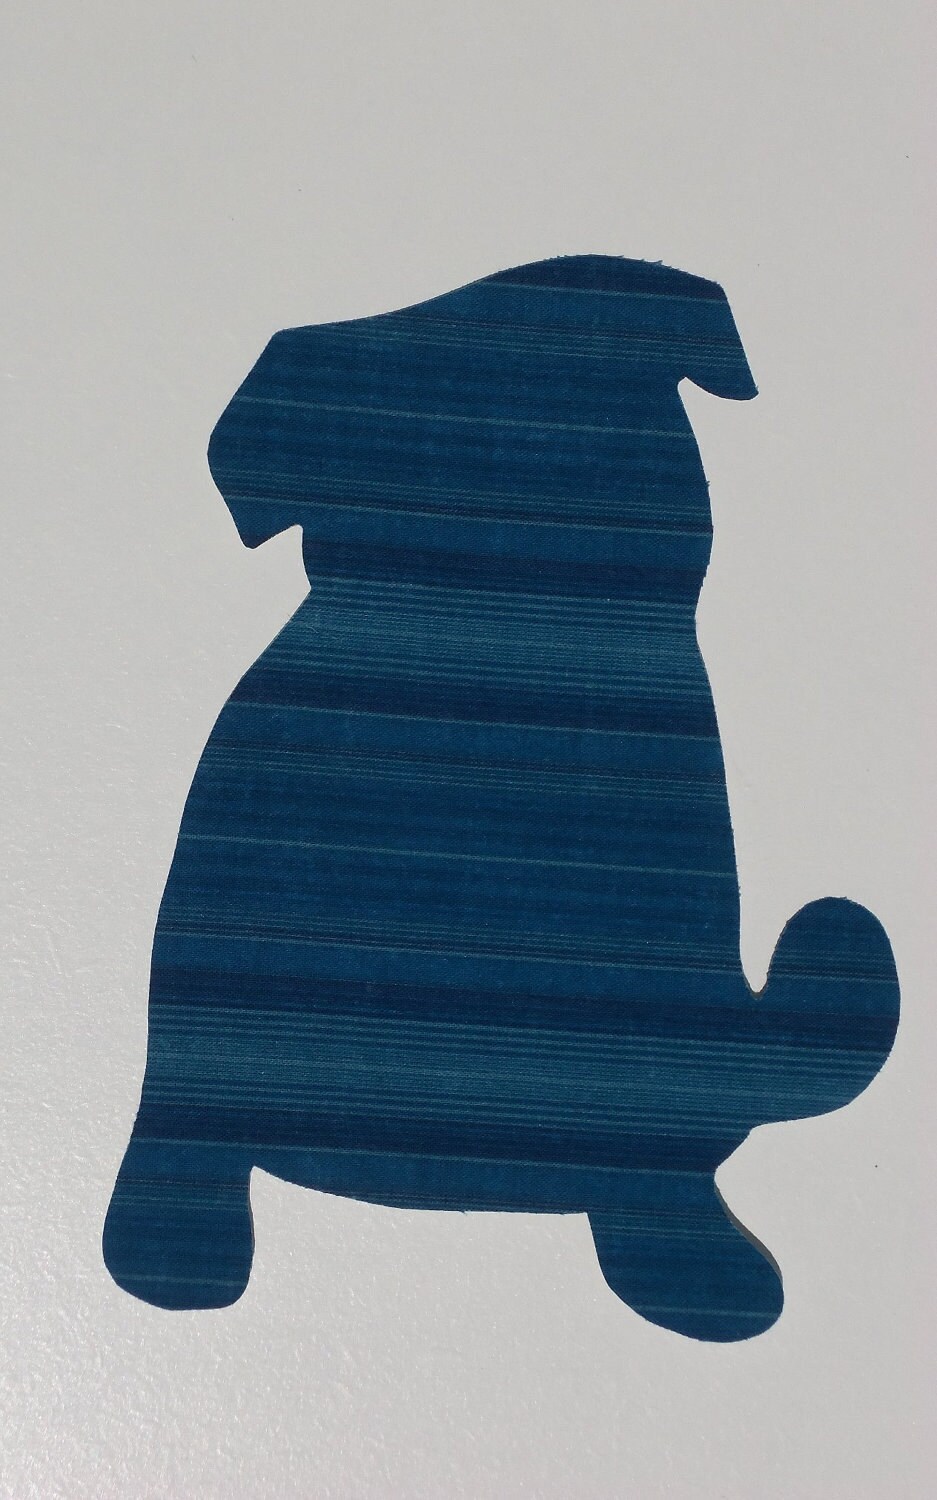
Once they are printed, cut them out so that you can trace onto your Heat n' Bond. With the state of Florida, I just cut around the most obvious landline. Remember that you're going to be cutting this out of fabric, and if it's too small it will most likely be unnoticeable once appliqued.

Cut a piece of Heat n' Bond large enough to trace your shape onto. If you follow the directions on the Heat n' Bond, it tells you to press a warm iron onto the Heat n' Bond and fabric for 2 seconds. Once the Heat n' Bond is bound to your fabric, trace and cut your shape. Remember that you are tracing on the back of your shape, so it is going to be a mirror image when you iron it on.
The Heat n' Bond directions say to press the applique object to the fabric with a warm iron for 6 seconds. You really can't mess this up. Just as long as it sticks and the edges don't come up, you're good.

Once your objects are adhered to your onesie, use the sewing machine to outline the object for extra stability. I used contrasting threads because I wanted to make sure they were "boy" enough, but it's really up to you. A few things I learned through trial and error:
- A sewing machine is really better than needle and thread for this, because you want to make sure your stitch is even all the way around.
- Go very very slow. Most parts of the state of Florida and the pug I just hand cranked so I had more control.
- Leave your needle in the thread to turn the fabric
- Make sure you only sew through the first layer of the onesie. (I'm sure you could figure that out, but just a reminder!)
Once I finished, I cut a little felt star and hand stitched it on to Orlando, just for a little bit more personalization. They turned out SO cute and it was such an easy project! Instead of wrapping in regular wrapping paper (and mainly because I don't have any boy-ish wrapping paper), I tried the Furoshiki wrapping with a scrap of fabric I had leftover from the project.

Isn't that the easiest and cutest project you've ever seen?! And now I have gift ideas for everyone who may have a baby anytime in the future.
:) L.o.L.

I love making these. The mustache is a great idea!
ReplyDeleteThey really are addicting, right?! They're so quick and easy and so so cute!
DeleteThese are so gorgeous Kindra, I hope your neighbor loves them as much as I do!!
ReplyDeleteI know what you mean about the whole Bower/Petersick complex. My husband and I built our house four years ago and we are still *slowly* finishing it off. Sometimes it gets to me, but we do what we can piece and piece. I know one day we'll get there!!
Thanks for your comment Tamsyn. I really imagined we'd be farther along in the reno process than we are, and it was definitely a frustrating realization that these things take time and patience. We're running a marathon, not the 50 meter dash!
DeleteI LOVE the pug onesie! Such a fun idea.
ReplyDeleteSarah
I think the pug was my favorite too. I was a little afraid it wasn't going to look enough like a pug, but either way, it's a darn cute puppy!
Delete