My five favorite things of the week. Aka: My favorite Instagram/Pinterest picks of the week. Enjoy.
01. this amazing goat print
You can't look at this and not smile. :)
02. this stove-top potpourri
It's so easy and fresh. My house smells like a Williams-Sonoma.
03. this song
Basically the entire RED album. Love me some T. Swift.
04. this face
Seriously. So cute.
05. reminiscing about the NYC Marathon
The marathon is still one of my top 5 life experiences. The camaraderie and sense of community was unbelievable and I wish it were something everyone could experience.
I know this post is a little late and probably won't be read until after Halloween is over...please forgive me for my tardiness! :)
Happy Halloween ya'll! Halloween is probably my favorite holiday of the year. It's just so whimsical and fun, and it marks the start of fall and the holiday season, which, in itself, is reason enough. I feel like Halloween is one of those holidays where you are given creative license to be as tacky as you want, and I definitely like taking advantage of that. This year I wanted to spend as little money as possible decking my Halloween halls, so here's what I came up with:
The only items I purchased this year for Halloween decor are these ridiculously cute owl salt and pepper shakers, and the gingham fabric for the table runner. Table linens add so much to the room, but I didn't want something Halloween specific. You can get so much more usage out of a simple pattern with simple color palette than you can with something that is holiday specific, and it generally turns out just as cute! I was able to use this gingham (from Hobby Lobby) on the appliqued onesies as well, and I'll most definitely be able to use it again for something else down the line. To create the runner I just cut the fabric the width that I wanted, and then frayed the ends to give it a worn look. Nothing about Halloween decorating should be too perfect. Or difficult. :)
I had this skull leftover from the Target $1 section last year. I just plopped him on the pedestal and spread a bunch of black bat necklaces around to act as a filler. These are in our Halloween goodie bags, and I had a bunch of extras to give to the kids at work.
I found a printable for these bat cutouts from M.Stew, so I spread them out on the table runner to fill things in a little bit.
I really enjoy having a table made up for the holidays. My crafts and "projects" have a habit of exploding throughout the house, and if there's something pretty on the table, it manages to stay clean longer. Funny how that works. :)
This next project should literally be called the easiest project ever. It took me all of about 3 minutes to complete, and that's only because I was sock-sliding through the house to Taylor Swift half of the time.
I cut a piece of green dotted fabric (purchased from Hobby Lobby) to fit my shadow box frame, and taped it to the back of the mat. Then I took these mustache stickers from Target and laid them on my paper. A little double-sided tape and, ta da! Super easy Halloween display.
Last up on the Halloween decor is this ribbon wreath, originally found on Pinterest, though I didn't pin it so I can't link up to the original blog. doh!
I just bought a 10" foam wreath form from Hobby Lobby along with a BUNCH of black gross-grain ribbon. I added a glitter ribbon in ever 4 ties or so just to add a little bit of bling. Everything is better with glitter, right? Just cut your ribbons at an angle about 13-14" long and tie around the wreath form. Make sure you always tie in the same direction, and squish your ribbons together as you go so you get a nice, tight coverage. I made this wreath last year but I still think it's just the cutest thing!
I hope everyone has a safe and happy Halloween! I'm getting a little concerned that we might not have many trick or treaters...it's 7:30 and we've only had 2 knocks!
We're back! And with a Fall Pinterest Challenge project to share! Before we get into the good stuff, though, let me take a minute to explain the blog/life/over-share in general. I love writing, I love blogging, and I love crafting. This blog is a way for me to express myself, share what's going on in our lives, and give me an outlet for my creative side. It's fun to craft and make pretty things, but it's even more fun to brag share about my adventures in the DIY world. With that being said, I initially started this blog with high hopes of turning our run-ragged house into a Pin-worthy oasis in a few short months (HA!). And then life happened. And on top of that, I began reading some of the other amazing DIY blogs in the blogosphere (yeah, I just used the word "blogosphere"), and I began to get discouraged. While I was reading about BowerPower's amazing kitchen renovation, I began to doubt my own abilities. Most of what we'll do at our house won't even compare with some of these other DIY blogs. In short, I was intimidated. Who would want to read about my measly little bookshelves when the Petersiks just single-handedly reno-ed their entire kitchen?
And then I began to miss blogging. I would still craft and work on the house, but something was missing. I realized that I needed to let go of my own insecurities, and just do what makes me happy. So I've decided that I'm still going to blog, even if my mom is the only one that reads, and even if none of my projects come close to being as amazing as any of the other ladies involved in the Pinterest Challenge. I love doing this, and I would LOVE it if you would come along for the adventure.
But enough with the sharing, let's get down to the Pinterest Challenge: Fall Edition shall we? I've only blogged about one other Pinterest Challenge, which you can read about here, but it was so much fun that I couldn't wait to start my fall project. Our neighbors across the street are just a little bit older than us, and in a very similar situation regarding their house. They bought their house a few years ago and have been slowly working on renovating the entire thing. They are much farther along in the fix-er-up process (Amanda's dad is a contractor...JEALOUS!), and they just welcomed their first child last week! I am self-admitedly a little baby-crazy, so I immediately jumped on the Pinterest baby-train er...board, and started pinning like crazy. Here's my sneak-peak Instagram picture that I posted last week:
P.S.-You should follow me on Instagram @ KindieT and on Twitter @KindraTaylor. Creative, I know.
When I first began searching Pinterest, I didn't realize how girly baby-stuff is! The little boys of the world are really missing out, because the girls get all the cute stuff! I was determined to change that for baby Noah, and I wanted to make his gift a little personalized as well. I found this project on Pinterest and immediately knew what I was going to do. Do you ever have those moments when you immediately see a project start to finish in your mind? And then it turns out just as perfect as you imagined it? That was this project.
See Kate Sew has all kinds of cute tutorials, and she warns in the directions that this might be addicting, and it is! I want to applique everything now!
For this project you will need:
Permanent Heat n' Bond (dark purple)
Onesies (or t-shirt or whatever else you'd like to applique)
Small scraps of fabric
We didn't know Noah's name at the time, so I decided to choose other things that were personalized for him. The onesies came in a pack of 3, so I just decided to do a mustache for the third one, which may not be personalized but is pretty darn cute.
I already had the gingham fabric from my Halloween decorations (which I'll share later in the week), so I just needed to buy the onesies and the other 2 fabrics, which set me back a total of $13 for everything. And I have enough fabric and Heat n' Bond left to make 50 more onesies.
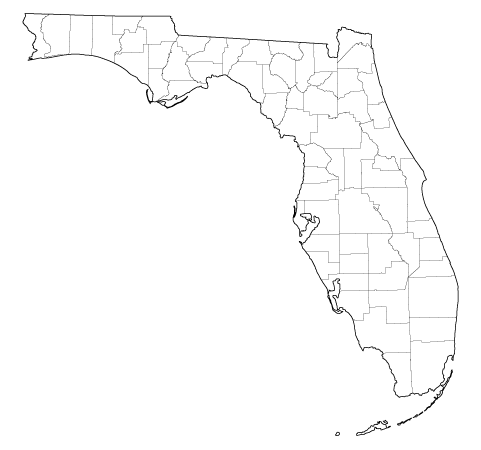
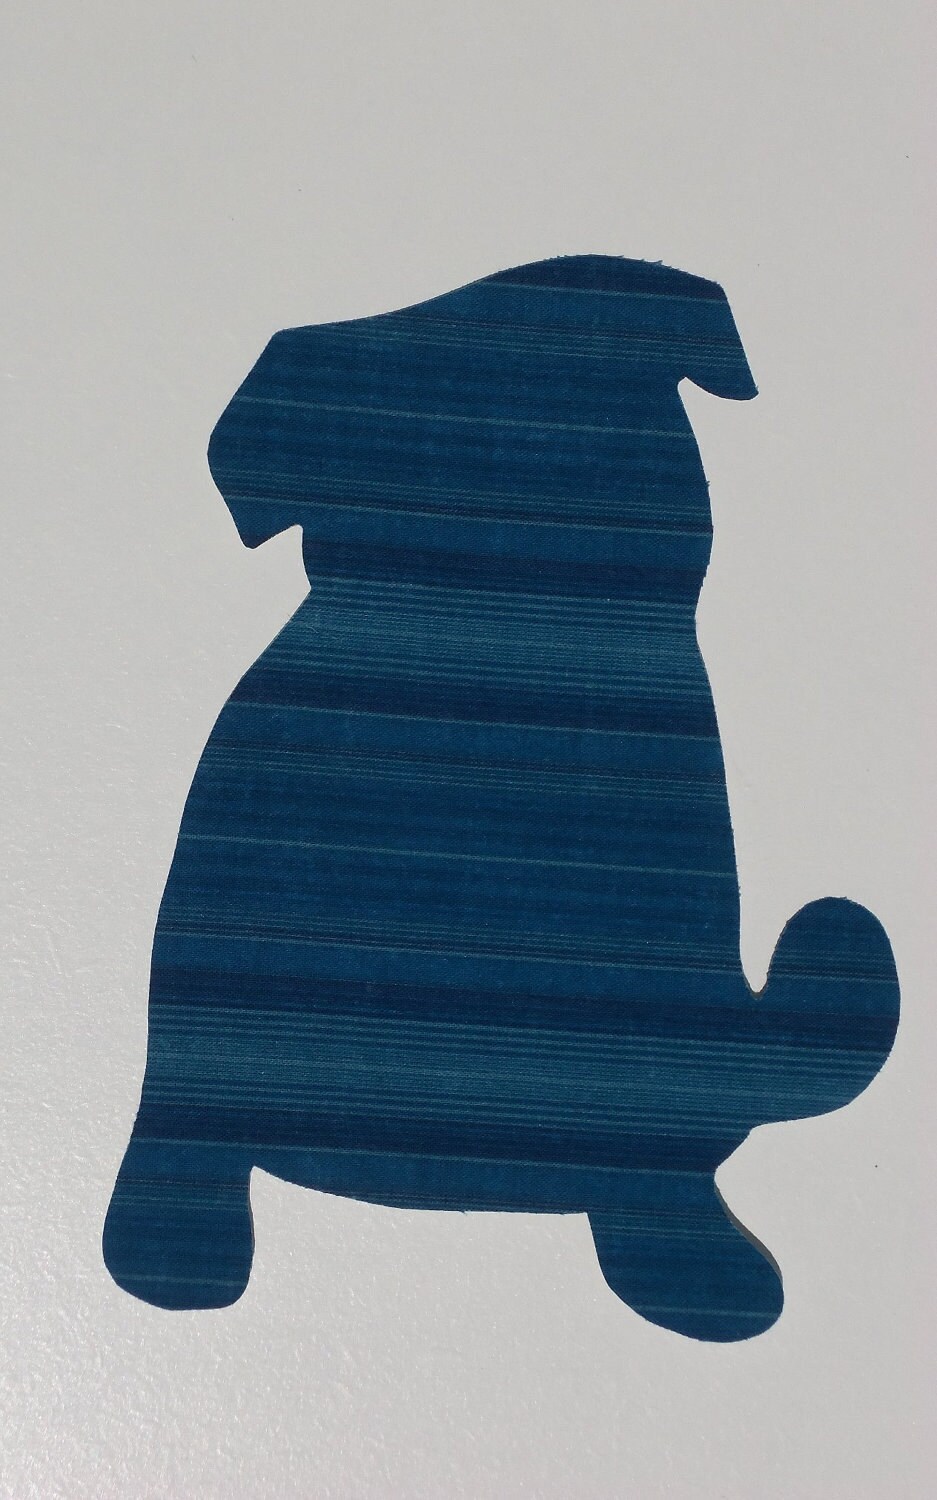
First, find your pictures that you want to trace. I just googled "florida," "pug silhouette", and "mustache." Pretty clever, hunh?
Make sure your pictures are a good size for your project, and print them out.
Once they are printed, cut them out so that you can trace onto your Heat n' Bond. With the state of Florida, I just cut around the most obvious landline. Remember that you're going to be cutting this out of fabric, and if it's too small it will most likely be unnoticeable once appliqued.
Cut a piece of Heat n' Bond large enough to trace your shape onto. If you follow the directions on the Heat n' Bond, it tells you to press a warm iron onto the Heat n' Bond and fabric for 2 seconds. Once the Heat n' Bond is bound to your fabric, trace and cut your shape. Remember that you are tracing on the back of your shape, so it is going to be a mirror image when you iron it on.
The Heat n' Bond directions say to press the applique object to the fabric with a warm iron for 6 seconds. You really can't mess this up. Just as long as it sticks and the edges don't come up, you're good.
Once your objects are adhered to your onesie, use the sewing machine to outline the object for extra stability. I used contrasting threads because I wanted to make sure they were "boy" enough, but it's really up to you. A few things I learned through trial and error:
A sewing machine is really better than needle and thread for this, because you want to make sure your stitch is even all the way around.
Go very very slow. Most parts of the state of Florida and the pug I just hand cranked so I had more control.
Leave your needle in the thread to turn the fabric
Make sure you only sew through the first layer of the onesie. (I'm sure you could figure that out, but just a reminder!)
Once I finished, I cut a little felt star and hand stitched it on to Orlando, just for a little bit more personalization. They turned out SO cute and it was such an easy project! Instead of wrapping in regular wrapping paper (and mainly because I don't have any boy-ish wrapping paper), I tried the Furoshiki wrapping with a scrap of fabric I had leftover from the project.
Isn't that the easiest and cutest project you've ever seen?! And now I have gift ideas for everyone who may have a baby anytime in the future.
The day we signed the papers to our house we were chomping at the bit to get in and start working on the house. The only problem was that we had spent zero time planning for the moment when we were actually allowed to paint and decorate. We had absolutely no idea what colors we wanted, what rooms we were going to work on first, or even what furniture was going to go where. We got the keys and got into our house by about 2pm, and we were so lost as to where to start. It was a little overwhelming seeing so much that needed to be done and having no clue where to start. We decided we should just jump in feet first and paint the living room, but we had no idea of what color to go with and we had no paint swatches at all. Brian stayed back and cleaned a little, and I made a trip to Home Depot and Lowes to gather some paint swatches to see if I could make a decision. I decided a grey would be a nice, neutral color that I could easily work any accent colors into, and since I was going on just about no ideas, I needed a flexible color. After a trip back to the house to look at the swatches against the wall, we came to a decision in about 3 minutes. "Polar Star" by Valspar from Lowes, which we had color matched to Behr paint in an eggshell finish. I like Valspar paint and Lowes in general so much more than Home Depot, but the closest Lowes is about 25 minutes away, and Home Depot is only about 8. I kept looking at the paint swatch and thinking it said "Porn Star" instead of "Polar Star" which would have been a very interesting choice of color, if it indeed said "Porn Star." :)
After 2-3 coats of paint, we finally had the old mustardy yellow covered and a lovely, albeit not porn related, grey room:
I feel like I need to pick this picture apart a little bit. Brian and I can probably take the cake of all Cake Boss cakes when it comes to being clueless first time home buyers. We decided to start with painting the living room but we didn't have any clue on the paint color. By the time we picked out and purchased our paint and brushes and rollers and drop cloth, it was starting to get late. Insert trip to Target to buy a light. That's right, folks. The living room has no built-in ceiling lights, so without lamps, the room is pitch black after sunset. And ya can't really paint in the dark! This $6 clearance Back-to-School dorm room lamp served us well for the night, and is still being used today as my reading in bed light. Yeah. Time for an upgrade. I would also like to point out in this picture, that we have a broken ladder. Among the many things that we didn't think about before we started painting, we didn't think to get/borrow a ladder. Luckily for us, the previous owner left a broken one on the side of the house. There is no second step on this ladder, so to paint all of the trim around the crown molding, I had to carefully balance myself and step from the first to the third step. And then bend my neck in unnatural ways because I was so far up into the ceiling. Needless to say, we learned our lesson after this first jump-the-gun experience. Always have a proper ladder, light, and painting materials, and give yourself plenty of time to pick out your colors.
It's not the perfect color for the room, and it's not exactly what I was going for, but it's light and airy and it works for now. During the day it's a nice, light shade of grey, but at night it looks like it has a little bit of light blue in it, which I'm not too keen on. I would have preferred the color to be a warmer, more true grey, but we have to live with what we have for now. And really, the color is great about 95% of the time, so I guess I did pretty well considering the time I put into decision making.
Sorry for the terrible pictures. We didn't do so well at chronicling all of our makeover processes in the beginning, and we can't really go back in time. As you can see from the picture above, the room didn't have any blinds, so we enlisted the help of Papa H to install some faux wood blinds from Home Depot. (We actually lived for a few months with nothing but cheap curtains, but you could still see in at night, and Mama H put her foot down and hurried the blind purchasing process along for everybody's sake. $140 to transform the room and give us some privacy? I think it's worth it!)
Another issue we needed to address in this room was the horrible, 20+ year old tile. It's not exactly easy on the eyes, and the grout is so old it's constantly dirty looking and cracking in multiple places throughout the house. We are very VERY anxious to rip up the tile and install hardwood floors to make our house constant with its 1947 year birthdate, but, as with everything good, we need to save the funds for a total house makeover of that magnitude. With other things pushed to the forefront of our home-budget-funds, like saving for a new roof (ours is 7 years old), and having the exterior professionally re-painted (hasn't been painted since a DIY job in the 80s), we know it's going to be at least a year and a half before we can think about ripping up the existing tile. Our best cover-it-up, budget friendly solution was to lay a 9' x 10' carpet remnant in the "sitting area" of the room. We tried rugs from Ikea but couldn't find anything neutral that would fit the room exactly, so we headed down to a local tile and carpet shop and purchased a remnant and had the edges finished. I think the total bill was around $250, which isn't bad, but the other day at Home Goods I noticed that they have extremely large rugs for sale for $200 or less. C'est la vie. I will add, though, that if we ever purchase a carpet remnant again, we will pay the extra money for a nicer quality carpet, and I will finish the edges myself. During one of Addie's playful moments, she ripped a piece of the edging loose, and I used fabric glue and clothes pins to stick it back in place, and you can't tell the difference one bit. I know it would take some time and patience, but they charged us something like $0.35 an INCH to finish the edges, and after a piece came loose, I'm a bit skeptical as to the value invested.
Addie photo-bomb! While we have made tremendous progress on this room, it is nowhere near complete. We need to replace the old, squished, too big couches for something with cleaner lines and more appropriate for the space. I'm dreaming of a modern sectional and a sleek round coffee table to open up the room and give it more function.
I found this picture in a Better Homes and Gardens magazine and it is nearly exactly what I envision for this room. I can't find that exact sectional for the life of me, but the light is from CB2 (I believe), and a few other elements we already have or can work with. The legs on both the coffee table and the sectional help open the space and make it appear larger than it actually is, which we could most certainly use in this tiny little house of ours.
That's about it for this room. We have recently added a desk on the street facing wall, but still have to add wall art, and I'm still on the hunt for the perfect curtain fabric. We still have a lot to do in this room, but slow and steady wins the race, right?
:) L.o.L.
P.S.-Did you notice the fan upgrade? The polished nickel and dark wood fan is a drastic change from the shiny black and gold non-working eyesore that previously lived here.
Every season the lovely Katie Bower from BowerPower hosts a challenge to actually MAKE something you've pinned on Pinterest. What a genius of an idea...to actually stop pinning, get off the computer, and get to work. Sherry over at YoungHouseLove is in on the whole shebang, and I've really been wanting to be one of the cool kids and join the challenge, but up until now it has snuck up on me and I haven't had enough time to a. complete the project, or b. take pictures and blog about it. Well not anymore my friends! You can count me in with the cool crowd today, because here is my first official Pinterest Challenge project:
A pea towel! Not really. It's really a dish towel, but pea towel sounds like tea towel, and that makes me smile. It's is originally from Anthropologie, but no longer available, and since the pretty things at Anthropologie also cost a pretty penny, I decided to make my own version. This whole project cost me around $6.00, and the dish towels online at Anthropologie range from $16-$24, so I'd say I did okay.
First, I took some plain, off-white, bottom weight fabric I had lying around, and ran it through the laundry to get any shrinking out of the way before I started sewing. Then I ironed and ironed and ironed, and, much to my dismay, still didn't completely get the wrinkles out. I laid my fabric flat on the floor and laid another dish towel over it so I could easily cut the right size, and so I could ensure my cutting was going to be an even rectangle, and not a wonky parallelogram. As you can see, my fabric was a little short if you take a seam allowance into account, but I decided it wasn't too much to worry about...my new dish towel would only end up being about a half an inch smaller all around.
After my cutting, I ironed and ironed and ironed again. Those who like sewing had better like ironing, because it seems like every time I sew anything, it's 90% ironing and 10% sewing. Either way, I folded down a 1/4 inch seam allowance and ironed all the way around, and then repeated this process again so I had a nice, clean edge, and so my fabric wouldn't fray. After all the ironing was done I just ran a straight stitch around the edge, but you can picture what the finished project looked like. I think it's worth mentioning here, that my ruler that gets used at LEAST once a week, is the same ruler that I received in the 5th grade for reaching a certain point level in Math SuperStars. And it still has my name flanked by bright red stars, baby. Cool points for this girl! :)
So many crafty bloggers out there who are FAR craftier than I am have used Martha Stewart's new line of multi-surface paints and raved about them. I bought the chalkboard paint for a project and ended up returning it because it was so terrible, but because I can't hold up to peer pressure, I decided to give them a second chance (and because Martha was the only one who had the exact perfect shade of green). The color is called Green Olive, and can be used on glass, fabric, wood, plastic, and pretty much anything else you can put paint on.
I had originally planned on just using my finger and doing fingerprint circles, but I found this round sponge brush in my craft box underneath my ruler, so I decided to try it out.
I think part of what makes this towel so cute is it's imperfectness, so I didn't try hard to make perfectly round circles, or to evenly space everything. I just dipped and pressed, and went with the flow.
At first I was a little concerned that the paint bubbled when I lifted the brush, but the bubbles cleared up in drying, and everything turned out A-Okay.
I let everything dry for about 7 hours just to be sure I wouldn't mess anything up, and then I took a black Sharpie paint marker and drew circles and dots on all of my "peas" as in the original towel.
I needed to somehow write "Give peas a chance" on the bottom of my towel, and I just couldn't seem to get my handwriting neat enough to put in permanent marker, so I googled some fonts and ended up with one called "Pea Amy G" (hilarious, right?) from here. The easier way to do this would have been to print out my saying and then trace, but I wanted to get practice writing it before I used my permanent marker on the towel, so I traced from the computer onto a piece of paper, and then went over it again with a dark marker.
You can see one of my feeble attempts at trying to free-hand copy a font at the bottom of the page. It's not pretty.
I traced my tracing onto the towel with pencil to make sure I had the proper spacing and to double-check that it was centered and straight, and then traced again with the permanent paint pen.
The Sharpie paint pen was actually really easy to write with, but I have to complain and say it wasn't really paint-like. It was basically like writing with a Sharpie marker, but it didn't bleed as much on the fabric. It still smelled and wrote exactly like a Sharpie marker, and the handwriting did bleed a little bit, but not much; Just enough to make me want to try a different type of paint pen the next time I do a project like this.
I LOVE the finished project! I think it came out super-cute, and it adds a little whimsy to my otherwise bland kitchen. This project was start to finish in one afternoon if you take out the time for the paint to dry, which is awesome for people like me who always start new projects because I get impatient with other projects that take so long.
So now, I can officially say, Winter Pinterest Challenge: COMPLETE!
When it came to hanging things on the walls in our house, I wandered aimlessly like a lost puppy dog in a park with no people. It was sad. For the first 5 months of living here the only thing I hung on any wall in the house was this picture by the front door in the porch. And to make things even more desperate, I hung it with command strips so that I could take it down if I developed hanging regret.
I think part of me was afraid to put holes in our plaster walls, and part of me had no clue where to start. How do you decide what to hang and where in a house full of blank walls? All of our pictures and frames shuffled from pile to pile and eventually ended up stacked in a pile of their own in the sunroom just waiting to fulfill their destiny. Then it happened. During one of my many hours spent on Pinterest, I stumbled upon this:
Solid. Gold. Exactly the inspiration I needed. This is actually Thomas O'Brien's first New York City apartment, and I love everything about it. I love that you want to actually stand there in his bedroom to get a better look at the gallery wall. I love that this room is so liveable and comfortable. I love that he played up the natural light with the mirror. And most of all, I love that the chaos of everyday life blends right in with everything else. Because I would really be kidding myself no one if I tried to make our house perfectly staged like Young House Love's dining room (which is gorgeous, but completely unrealistic for clutter-pros like us). Our house would look like a constant disheveled mess that was trying to be modern and sleek and it just wasn't working out. Like Donald Trump's hair. One hot mess.
The only thing preventing me from starting this project right away was the bookshelves. I have a bagillion books and have wanted a "library" since I was 5 and watched Beauty and the Beast. I mean, who WOULDN'T want this??
What were we talking about again? Oh right, bookshelves. I had been hemming and hawing over purchasing library-style bookshelves from Ikea since the week we moved in, but something just didn't seem right. I couldn't figure out what my hesitation was, but I was driving Brian mad with my back and forth-ness on the subject. All of my books were just in piles in the living room, out of the way, but certainly not pretty. I finally figured out that I felt the tall bookshelves would dwarf the room, making our largest, most open room seem smaller. I also don't have enough books to fill an entire wall of bookshelves, and to top that, I couldn't figure out where the bookshelves would actually go in the room. Lots of decisions and zero ideas. Which is why this Thomas O'Brien picture is solid gold. Waist-high bookshelves! This thought had never even crossed my mind. First of all, they wouldn't take over the room, second, I could fill them with the books I currently have, and third, it would give me somewhere to actually put stuff, like candles and pictures and keys.
So the bookshelf search began with a fervor. The best possibility I could find online was this Billy Bookcase from Ikea:
It was a good height and plain and simple like I was looking for, but the length was set and there were no other options. In order for these to look like built-ins, I would need approximately 2.5 on one side of the wall, and 3.2 on the other side of the wall. The other negative? Even though the bookshelves are cheap individually, to buy 6 of them would end up around $250. And they wouldn't look so great with half of a bookshelf on one side and a quarter of one on the other. Here's where I call my dad, master craftsman and general fix-it pro. I once told my sister, who was 2 or 3 at the time, to take her popped balloon to dad because "daddy will fix it."
Just before Christmas he brought over 2 custom-built bookshelves the exact height and width and depth I was looking for, and all I had to do was slap some paint on them. Since I wanted them to look like built-ins, I planned on painting them white, the same as the molding, which meant he could use the cheaper plywood. He had a few items on hand in his garage-turned-workshop, but said the sheet of plywood and the backing came out to about $30...waayyy cheaper than ole Ikea.
After a few coats of semi-gloss white paint with a thin foam roller, they were ready to roll. I waited a few days to let the paint cure so it wouldn't get nicked and dinged while I was setting them up. My books fit nearly perfectly, and I had so much fun finally hanging pictures on the wall.
It's it great? This is by far my favorite part of our house right now. It screams Kindra. Nerdy, eclectic, busy, and sentimental, all on one wall. And, to make things even better, it serves a purpose! My books are finally off the floor and nicely organized, and we have a place to put our keys when we come in. And it was FREE!! With a little creativity and "borrowing" from my parents house, I didn't have to buy anything to complete the wall.
As you can see, Fulga is front and center, mainly because it's the biggest piece of "art" we own. I plan on painting over it with a quote or something so we don't have to stare at creepy naked painters all day. I mean, maybe naked painters are your thing, but we would rather go a more conservative, non-creepy route. Other than Fulga and the mirror, I didn't have any specific idea of where I wanted pictures to go. I just started hanging and figured out what worked. It didn't matter to me that the pictures all evenly spaced, so it was kind of nice to just go with the flow and figured it out as I went along.
My mom had the mirror resting on her mantle until a few years ago when we bought her a giant clock to take its place, so it has been residing in the back of a closet ever since, and it was just the size I needed. It really does a great job of bringing extra light into the room, and since this room has no overhead lights, it also amplifies the lamp-light.
When we were measuring for the bookshelves, we made sure to measure for depth as well. Since the door opens up to the wall the bookshelves would be on, they couldn't be so deep that they would obstruct the door. I knew some of my large coffee table books wouldn't fit, but I wouldn't rather find someplace else to put them than have a front door that doesn't fully open. I'm not sure what our final measurement was, but I think it was about 9" deep, and as you can see from the picture, the door still opens more than 90 degrees. (sorry for the evening pictures...the flash is rough on the glass and the lighting is all off)
Now, if you'll allow me, I'm going to share a little bit of what makes me so happy about this wall. Other than that it was free. Did I mention that already? FREE! :)
I've always been one who scoffed at the thought of decorating with pictures and furniture from big box stores where everything always looks the same and pictures are just color on the wall and nothing more. I feel a home should reflect the people who live there, and part of that means pictures and wall-hangings should serve a purpose of offering a little bit of insight of who the people really are. Well, our gallery wall offers 27 different stories about who we are, and since I don't want to bore you to death, I'll share just a few. And yes, that is double-sided tape stuck to the bottom left mirror. Further evidence that D-S tape is my favorite thing and is literally used in everything I do. No joke. I just hung curtains yesterday and used D-S tape to hold them in place. It's like magic on a roll.
One obstacle on when hanging pictures was the thermostat. It's nicely placed smack dab in the middle of the house, and it's definitely not the prettiest thing to look at. Mr. T does a nice job of helping to mask it though. Brian picked him out from the Lake Eola farmer's market, and he is very proud of his contribution to the wall. I don't really know who Mr. T. is/was, but I DO know Friends, and this is one of my all time favorite Chandler moments: (Seriously. Watch it. It will make your day.)
Above the thermostat on that same side of the wall is Roy. B. Bird (aptly named by me), my favorite picture at my grandparent's house, a colorful cross stitch piece my grandpa made. My grandpa was really phenomenal at cross stitch, and most of the pictures hanging in their house were either my grandma's paintings or my grandpa's cross stitch. The colorful bird one was my favorite since the first time I visited their house in Houston, and unbeknownst to me, my aunt had written my name on the back, "claiming" it for me. I have no idea when she wrote my name on it, but after my grandmother passed, it was sitting there waiting for me. Honestly, I think it's probably my favorite thing on the wall. Thanks Aunt Linda!
Towards the end of hanging stuff I started running out of pictures to put in my frames. I didn't want to go to the store and print pictures in the right sizes, so I got creative. The quote is a quoteable card that I had in my "stationery box" that I just taped directly to the wall, and the key was our first key to the house, before we changed all the locks.
Yes, the Vizsla picture was crooked when I took this picture. Yes, it's driving me crazy. I bought sticky putty to keep everything straight and aligned after I took this picture. Really, though, the purpose of this picture was the mask. If you read my blog from Italy, then you remember this was the mask Sergio made especially for me. It still is one of my favorite things, and now it has a proper display so everyone can enjoy it.
That's it for me. The other pictures you're just going to have to see for yourself. :)